Creating an Apache Spark Cluster with Raspberry Pi Workers
For this experiment I wanted to assess how difficult it would be to create a small Apache Spark cluster using an Ubuntu Desktop machine as a master, and a single Raspberry Pi as one of the worker nodes. The desktop instance also hosts a worker node as well. The plan is to eventually expand the number of Raspberry Pi nodes over time, since they are quite inexpensive — less than USD $100.00 for a Raspberry Pi 4.
The Hardware
- Ubuntu Desktop running Ubuntu 20.04.2 LTS. This is my main work machine, and will be the Master node.
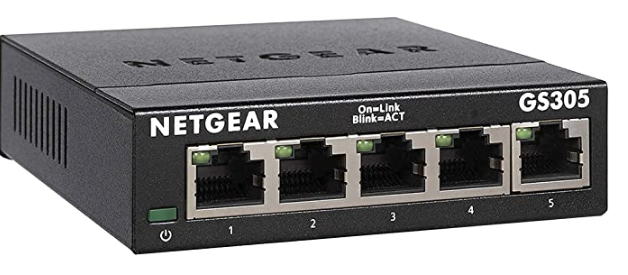
- A cheap network switch from Amazon. I probably should have got a nice managed network switch, but for now this will do. If you have a lot of ports on your internet box, you can skip this, but I wanted to have all the compute-nodes all in one place with minimal wiring.
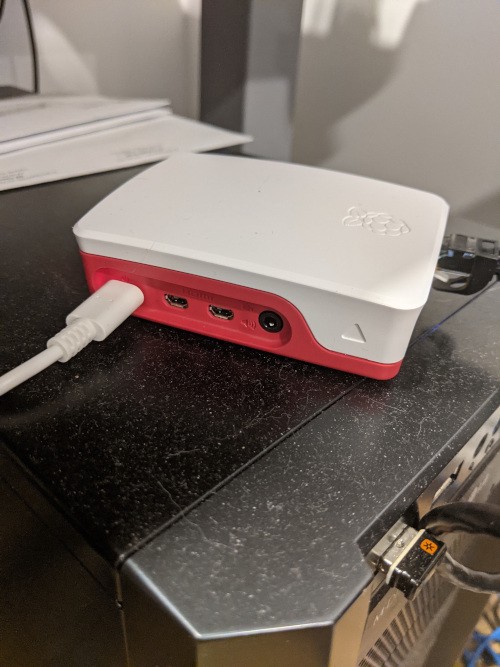
- Raspberry Pi 4 Model B, with 8 GB of memory. I purchased this from a Canadian supplier. I got the “Desktop Kit”, which comes with a keyboard, mouse, and some micro HDMI cables as I thought they might come in handy some day, but for this project they were actually unnecessary. As part of the kit, a nice enclosure for the Pi is also included.
 .
.
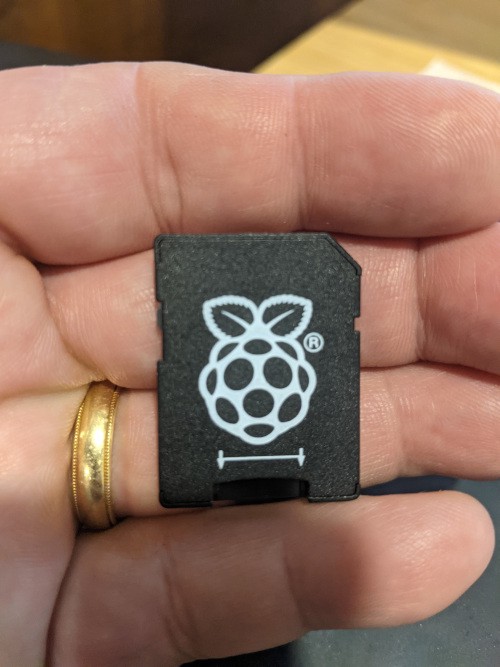
The Raspberry Pi 4 runs off of a Micro-SD card, and the kit came with a SD-Micro-SD adapter.
 .
.
Creating the Raspberry Pi Image
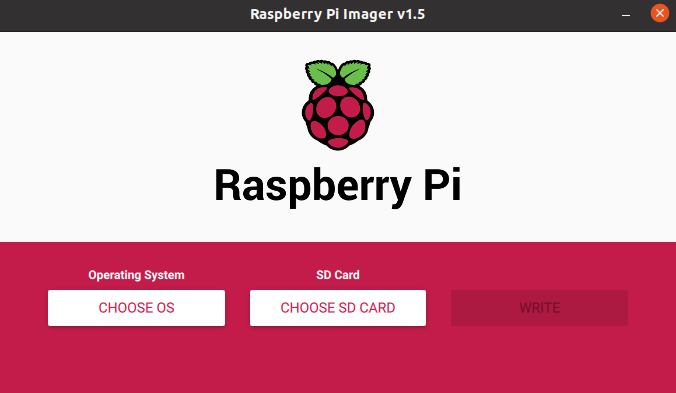
To install the Raspberry Pi Imager software, that creates the image on the Micro-SD card, download the deb file from: their site. And installing it with:
% sudo dpkg -i imager_1.5_amd64.deb
Launching Raspberry Pi Imager you get the simple three-step process:
 .
.
Among the options in the “Choose OS” under “Other General Purpose OS” is the 64-bit Ubuntu Server 20.04.2.LTS option.
 .
.
You then select the SD card, and hit the write button. This will then prompt you for your system password (since the SD card is a mounted drive), and then it will write, and verify the image. Then it is finished, and ready to insert into the Raspberry Pi.
Setting up the Raspberry Pi
For me, this involved navigating to my local router’s administrative web-interface, and listing the current devices on the network. The freshly-installed Raspberry Pi Ubuntu Server will have a name of “ubuntu”.
While I was in the administration web page, I also went into the DHCP settings, and configured it to assign as static known IP address for both the ubuntu desktop master node computer, as well as the Raspberry Pi machine.
Connecting with ssh is done with username “ubuntu” and password “ubuntu”, once you connect via ssh from the master machine:
% ssh ubuntu@192.168.1.55
You are prompted to create a new password. Once logged in, I did some housecleaning activities, such as re-naming the machine name (in my case to rpi-ubuntu).
% sudo vi /etc/hostname
and also set up the default shell to be bash and not sh.
% sudo vi /etc/passwd
... change /bin/sh to /bin/bas
Before we set up Spark, we need to put Java and Scala on the Raspberry Pi.
% sudo apt install -y default-jre
At the time of writing this gives me the version 11.
% java -version
openjdk version "11.0.7" 2020-04-14
OpenJDK Runtime Environment (build 11.0.7+10-post-Ubuntu-2ubuntu218.04)
OpenJDK 64-Bit Server VM (build 11.0.7+10-post-Ubuntu-2ubuntu218.04, mixed mode, sharing)
Then install the JDK
% sudo apt install -y default-jdk
I already had Java 11 on my Ubuntu Desktop, but you may need to do this there as well.
Installing Scala is simple:
% sudo apt install -y scala
% scala
Welcome to Scala 2.11.12 (OpenJDK 64-Bit Server VM, Java 11.0.9.1).
Type in expressions for evaluation. Or try :help.
scala>
The good news is that the latest Spark now works with Java 11, so there is none of the irritation of having to install Java 8.
To install Spark, I navigated to the Spark download page: here. I chose to download Spark version 3.0.1 with the option “pre-built for Hadoop 3.2”. I installed it by extracting the tar file and moving it to a more standard place.
% tar vxf ~/Downloads/spark-3.0.1-bin-hadoop3.2.tgz
% sudo mv spark-3.0.1-bin-hadoop3.2 /usr/local
On the master, set up the system environment variable path to pick up the two directories in:
export PATH="$PATH:/usr/local/spark-3.0.1-bin-hadoop3.2/bin"
export PATH="$PATH:/usr/local/spark-3.0.1-bin-hadoop3.2/sbin"
Copy the Spark distribution to the Raspberry Pi:
scp ~/Downloads/Downloads/spark-3.0.1-bin-hadoop3.2.tgz ubuntu@192.168.1.101:/tmp
replacing the I.P. address with the correct one. This will place the Spark distribution in /tmp. Go through the same Spark set-up as above on the Raspberry Pi.
Checking Spark Runs Locally
On both the desktop and the Raspberry Pi, run the Spark-shell:
% spark-shell
Setting default log level to "WARN".
To adjust logging level use sc.setLogLevel(newLevel). For SparkR, use setLogLevel(newLevel).
21/02/07 01:35:41 WARN SparkContext: Please ensure that the number of slots available on your executors is limited by the number of cores to task cpus and not another custom resource. If cores is not the limiting resource then dynamic allocation will not work properly!
Spark context Web UI available at http://rpi-ubuntu:4040
Spark context available as 'sc' (master = spark://192.168.1.100:7077, app id = app-20210206203542-0003).
Spark session available as 'spark'.
Welcome to
      ____              __
     / __/__  ___ _____/ /__
    _\ \/ _ \/ _ `/ __/  '_/
   /___/ .__/\_,_/_/ /_/\_\   version 3.0.1
      /_/

Using Scala version 2.12.10 (OpenJDK 64-Bit Server VM, Java 11.0.9.1)
Type in expressions to have them evaluated.
Type :help for more information.
scala>
At this point you should be able to see the Spark UI (given as http://rpi-ubuntu:4040), since I changed the host name of the Raspberry Pi.
If that all checks out, then we can move on to make sure that Spark is configured to work in a cluster.
SSH Access for Master and Slave
Spark requires password-less login between both the Master and the Slave. To do this we need to create a SSH key on both of the machines.
To create it:
% ssh-keygen -o -a 100 -t ed25519 -f ~/.ssh/id_ed25519 -C "your_email@something.com"
On the other computer, you can copy this key via:
ssh-copy-id user@hostname.example.com
which copies the default identity, or you can specify the identify-file using the “-i” option.
Once this is done you should be able to SSH from the master:
% ssh ubuntu@192.168.1.101
making the relevant changes, and you should not require a password. If it does, this needs to be solved first.
Spark User
Depending on your preferences, some people like to run their spark jobs as the user “spark”. Just to make sure things were easy with authentication, I made a username on the Raspberry Pi that was the same as on my Desktop. This may have helped with some of the configuration of Spark with respect to authentication, I am not entirely sure. A username of “ubuntu” is awfully clinical and cold anyway!
Checking OpenSSH on Master
Depending on your Desktop environment, this may not be necessary, but I found that until I did the following steps I got “connection refused” when I attempted to ssh to localhost:
% ssh user@localhost
Connection Refused.
To solve this:
% sudo apt install -y openssh-server
% sudo systemctl enable ssh
% sudo systemctl start ssh
Configuring Spark to Run as a Cluster
In the spark “conf” directory there is a file “spark-env.sh-template”. Copy this file to be “spark-env.sh” in that same directory. Add the line:
export SPARK_MASTER_HOST="192.168.1.100"
adjusting whatever the master I.P. address is. Also, copy the file “slaves.template” to “slaves”. In it I added the lines:
# A Spark Worker will be started on each of the machines listed below.
localhost
rpi
Note that for convenience I have mapped the name “rpi” to the I.P. address in my “/etc/hosts” file.
192.168.1.101 rpi
By default, the web-UI for Spark tries port 8080. I had a conflict on this port, and so I wanted to set it to something I could remember, so in my “.bashrc” I set the environment variable:
export SPARK_MASTER_WEBUI_PORT=”9999"
Starting the Spark Cluster
To start the cluster, in the command line type:
% start-all.sh
This will start up one master, one local slave, and one remote (on the Raspberry Pi). While it starts up, it will tell you the local and remote log files that it is writing to (located in the “logs” sub-directory of Spark). If something is mis-configured, then this will give you the error messages to diagnose.
Testing the Cluster
To test the cluster, I started a spark-shell, with the additional arguments:
spark-shell --master spark://192.168.1.100:7077
Here I use the I.P. address of the master. I do not recall if you can use a symbolic name. Once started, I navigated to “http://192.168.1.100:9999”, though “localhost” would also work.
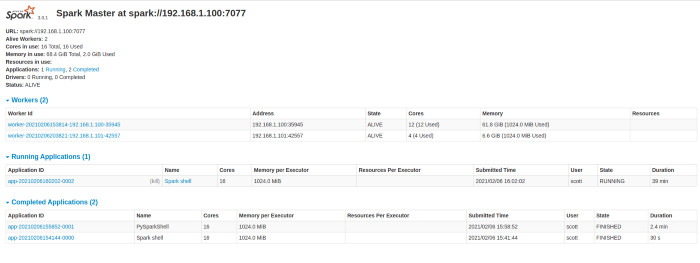
From the U.I. you can see two worker nodes:

I hope that this helps you avoid most, if not all, of the snags in setting up a local Spark cluster!